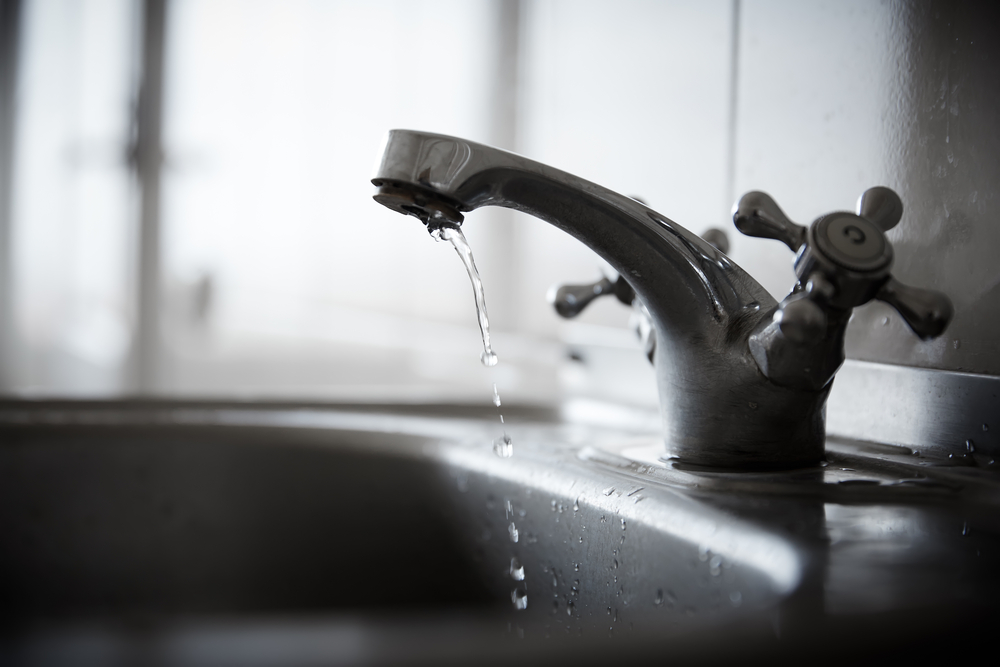
DIY enthusiasts and home improvement aficionados, rejoice! Today, we’re diving into one of the most common household nuisances: a leaky faucet. That pesky drip-drip-drip not only drives you up the wall but can also waste gallons of water and inflate your utility bill. But fear not! With a few tools, a bit of know-how, and a splash of determination, you can tackle this issue head-on and emerge victorious. Let’s roll up our sleeves and get to work!
Understanding Your Faucet
Before we jump into the nitty-gritty of fixing the leak, it’s essential to understand the anatomy of your faucet. Most faucets fall into two main categories: compression faucets and cartridge faucets. Understanding which type you have will guide your leak detection process in Las Vegas.
Compression Faucets
Compression faucets, among the oldest types, boast a straightforward design featuring separate hot and cold water handles. When these handles are turned, they manipulate a stem with a rubber washer at its end, pressing it against a valve seat to create a watertight seal, controlling water flow. However, their reliance on rubber washers makes them susceptible to wear and tear, leading to leaks over time.
Sediment buildup can exacerbate this, compromising the effectiveness of the washer and resulting in dripping or leaking. Repairing a leaky compression faucet typically entails replacing these worn-out rubber washers, a process involving shutting off the water supply, disassembling the faucet, and installing new washers.
Cartridge Faucets
In contrast, cartridge faucets represent a more modern and streamlined approach to faucet design. They feature a cartridge valve responsible for regulating both water flow and temperature. Inside this cartridge valve reside a series of O-rings and seals, which control water flow as the handle is turned, adjusting both flow rate and temperature.
While cartridge faucets are generally less prone to leaks than their compression counterparts due to their simpler design, they can still develop leaks over time, often due to worn-out O-rings or cartridge seals. Repairing a leaky cartridge faucet usually involves replacing these damaged O-rings or seals, a process that may vary depending on the faucet’s specific design but typically requires disassembly and installation of new components.
Step 1: Gather Your Tools
To start your journey toward a leak-free faucet, gather the following tools:
- Adjustable wrench
- Phillips-head screwdriver
- Flat-head screwdriver
- Allen wrench set
- Replacement parts (washers, O-rings, cartridges, etc.)
- Penetrating oil (if dealing with stubborn parts)
- Towel or rag
Step 2: Turn Off the Water Supply
Safety first! Before diving into any plumbing project, shut off the water supply to the affected faucet. Most faucets have shut-off valves located beneath the sink. Turn the valve clockwise until it stops to cut off the water flow.
Step 3: Disassemble the Faucet
Now that the water is off, it’s time to disassemble the faucet. This step may vary depending on the type of faucet you have. Generally, you’ll need to:
- Remove decorative caps or handles covering the screws.
- Unscrew and remove the handle.
- Use a wrench or pliers to loosen and remove the packing nut or retaining clip.
- Carefully pull out the stem or cartridge.
Step 4: Inspect and Replace Faulty Parts
With the faucet disassembled, inspect each component for signs of wear, damage, or buildup. Common culprits for leaks include worn-out washers, O-rings, or damaged cartridges. Replace any damaged or worn parts with new ones from your local hardware store.
Step 5: Reassemble the Faucet
Once you’ve replaced any faulty parts, it’s time to put your faucet back together. Follow the reverse of the disassembly steps, making sure everything fits snugly and securely. Be mindful not to overtighten any screws or nuts to avoid damaging the faucet.
Step 6: Test Your Handiwork
With the faucet reassembled, turn the water supply back on and test for leaks. Slowly turn the handle to the on position and check for any drips or leaks. If all looks good, give yourself a pat on the back — you’ve successfully fixed your leaky faucet!
When to Call in the Pros
While fixing a leaky faucet is a manageable DIY project for many homeowners, some issues may require professional intervention. If you encounter any of the following scenarios, it’s best to call in the experts:
- Severe corrosion or damage to faucet components
- Complicated faucet designs or specialty fixtures
- Persistent leaks despite replacing parts
- Lack of confidence or experience in DIY plumbing repairs
Don’t Let Leaks Linger — Call Pure Plumbing & Air!
There you have it — a comprehensive guide to fixing a leaky faucet like a pro! Armed with the right tools, knowledge, and a can-do attitude, you can tackle this common household annoyance with confidence. Remember, a little maintenance goes a long way in keeping your home running smoothly.
If you’ve followed our guide and still find yourself battling a stubborn leak, don’t despair. The skilled technicians at Pure Plumbing & Air are here to help! With years of experience and a commitment to customer satisfaction, we’ll diagnose and fix your leaky faucet in no time. Don’t let leaks linger — contact Pure Plumbing & Air today for expert leak detection and plumbing services in Las Vegas!
